Goal: Being able to stand up inside the living space was one of the primary build constraints that we had from the start. The problem is that there are dozens of ways to do this, and all of them are quite expensive. Not to mention, if you screw up the functionality of your primary living space, life on the road is a lot less fun!
Build Time: Approx. 40hrs
Cost: Approx. $4050 (Tent $3300, Capper $500, Steel and Supplies $250)
This is the second of a 2-part post detailing the construction of our living space. If you missed Part 1, click here!
Cutting and Painting:
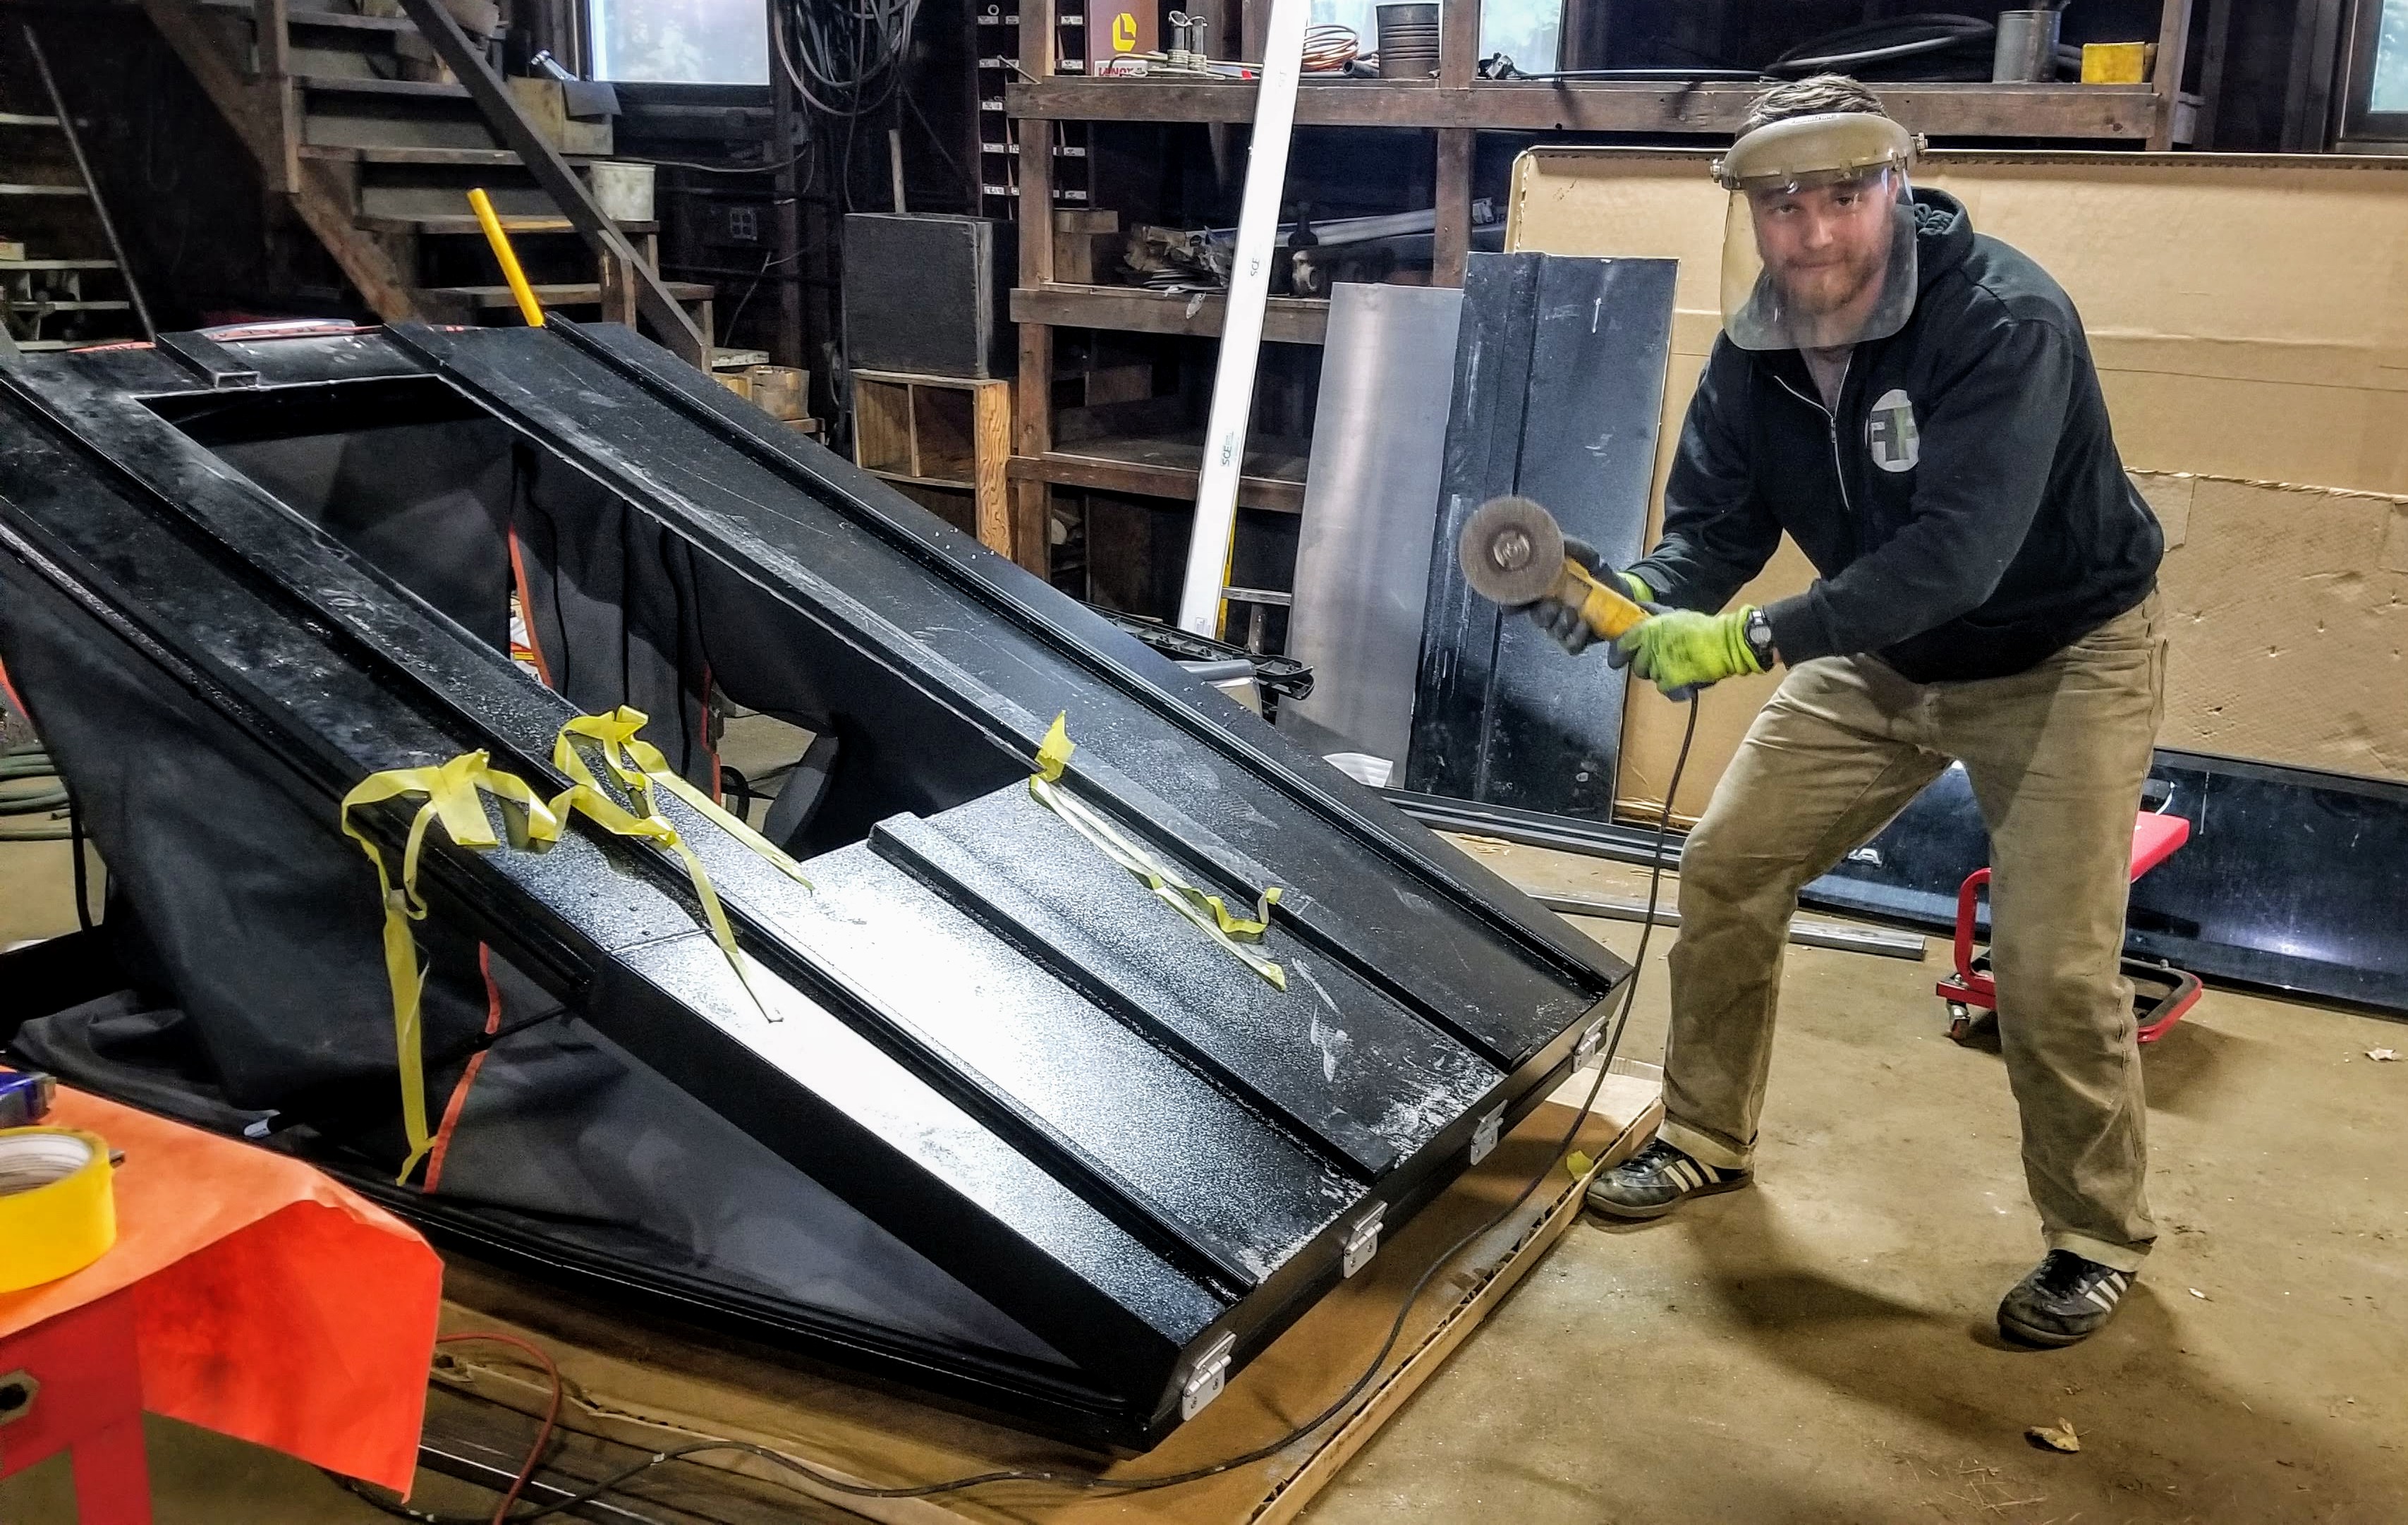
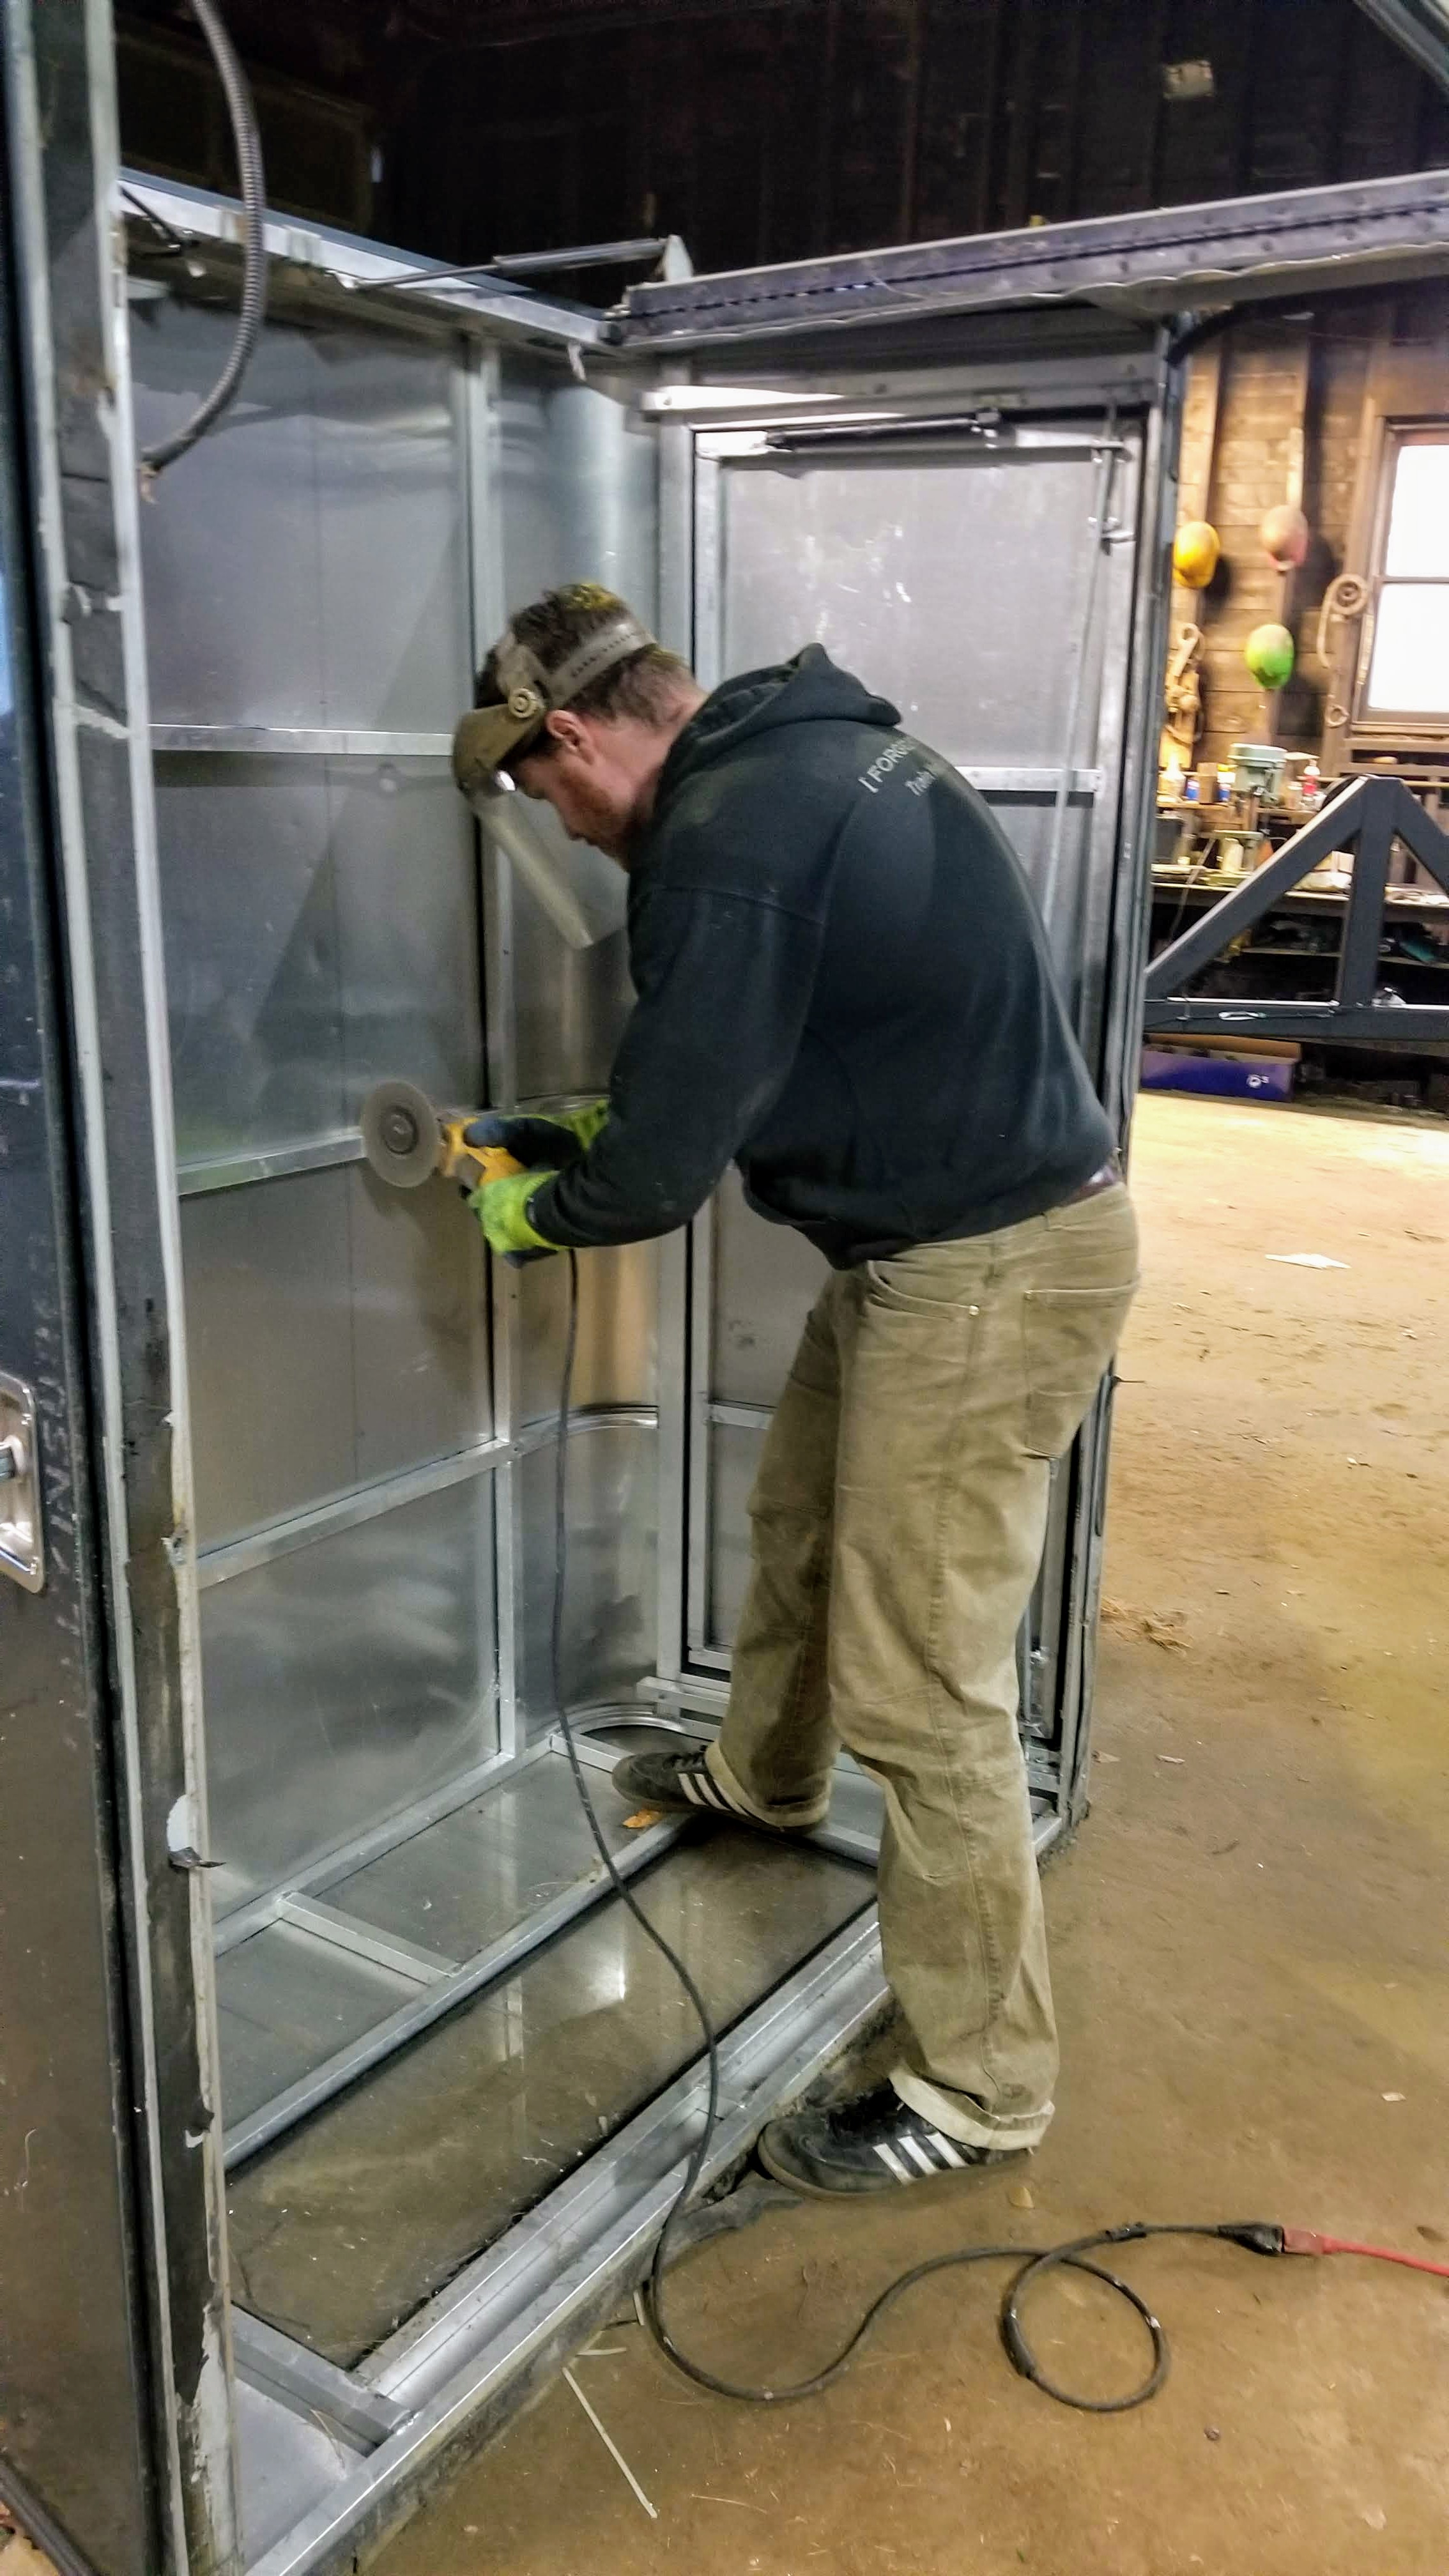
Cutting a hole into the bottom of a $2300 tent was by far the scariest part of the build. I think I measured, and re-measured, at least a dozen times before making the first cut. It also didn’t help that we had no idea how a carbide-cutting disk was going to go through the aluminum shell and what we would end up with. However, that’s what you get with a DIY project!
In reality, cutting a hatch into both the tent and the capper was pretty easy. If you don’t have a set of electric shears, definitely wear a full grinding mask, long sleeves, and gloves, as the aluminum shards from a cutting disk go everywhere. The cut from the disk is a little messy too, so we spent an hour or two with a flat file cleaning up the cuts and putting a rubber-edging strip on all of the cut edges.


[Click images to open for all galleries]
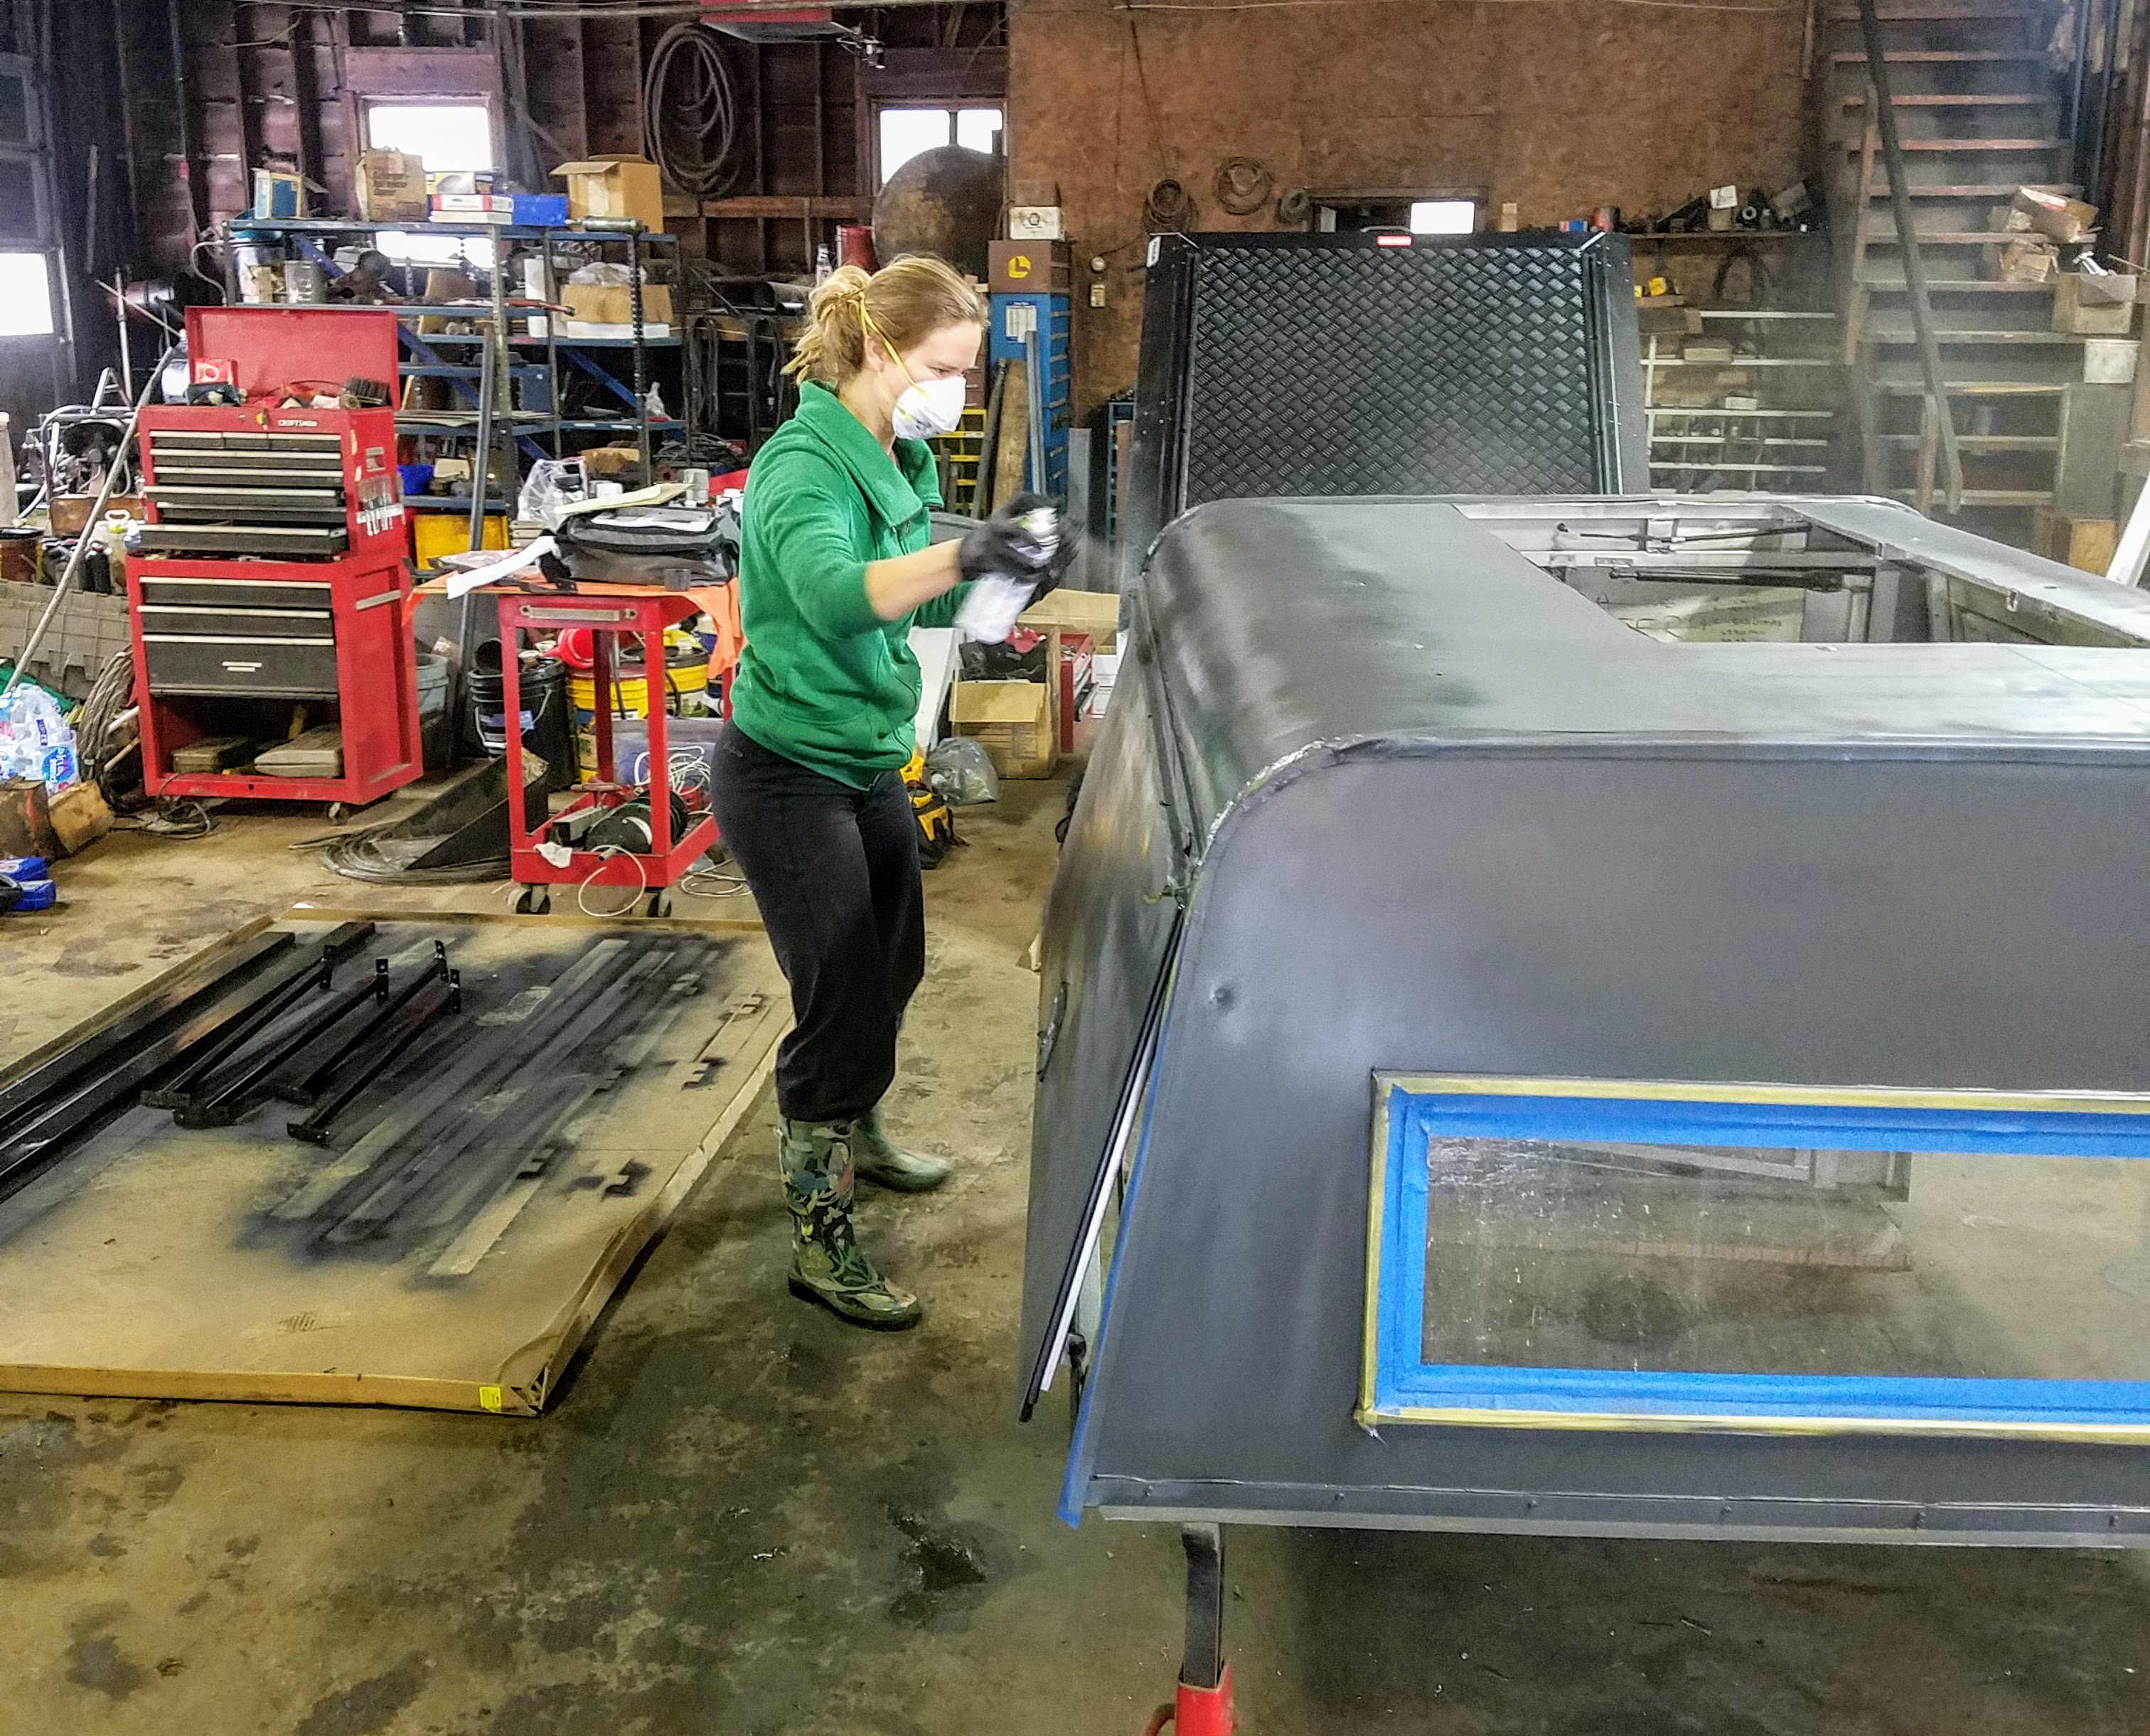
Painting the beat up capper turned out to be much more cumbersome than cutting or assembly. This was one of the few times that I REALLY wish we had access to more than a mechanic’s garage. Despite our best efforts to tape, sand, and prep the surface, the paint job turned out to be fair – at best. It didn’t help that the building we used was not well insulated, so maintaining a constant temperature for curing turned out to be easier said than done. We ended up painting it with spray cans twice, and to do it again, I would have definitely recruited someone with some auto body painting experience and tools.

Assembly:
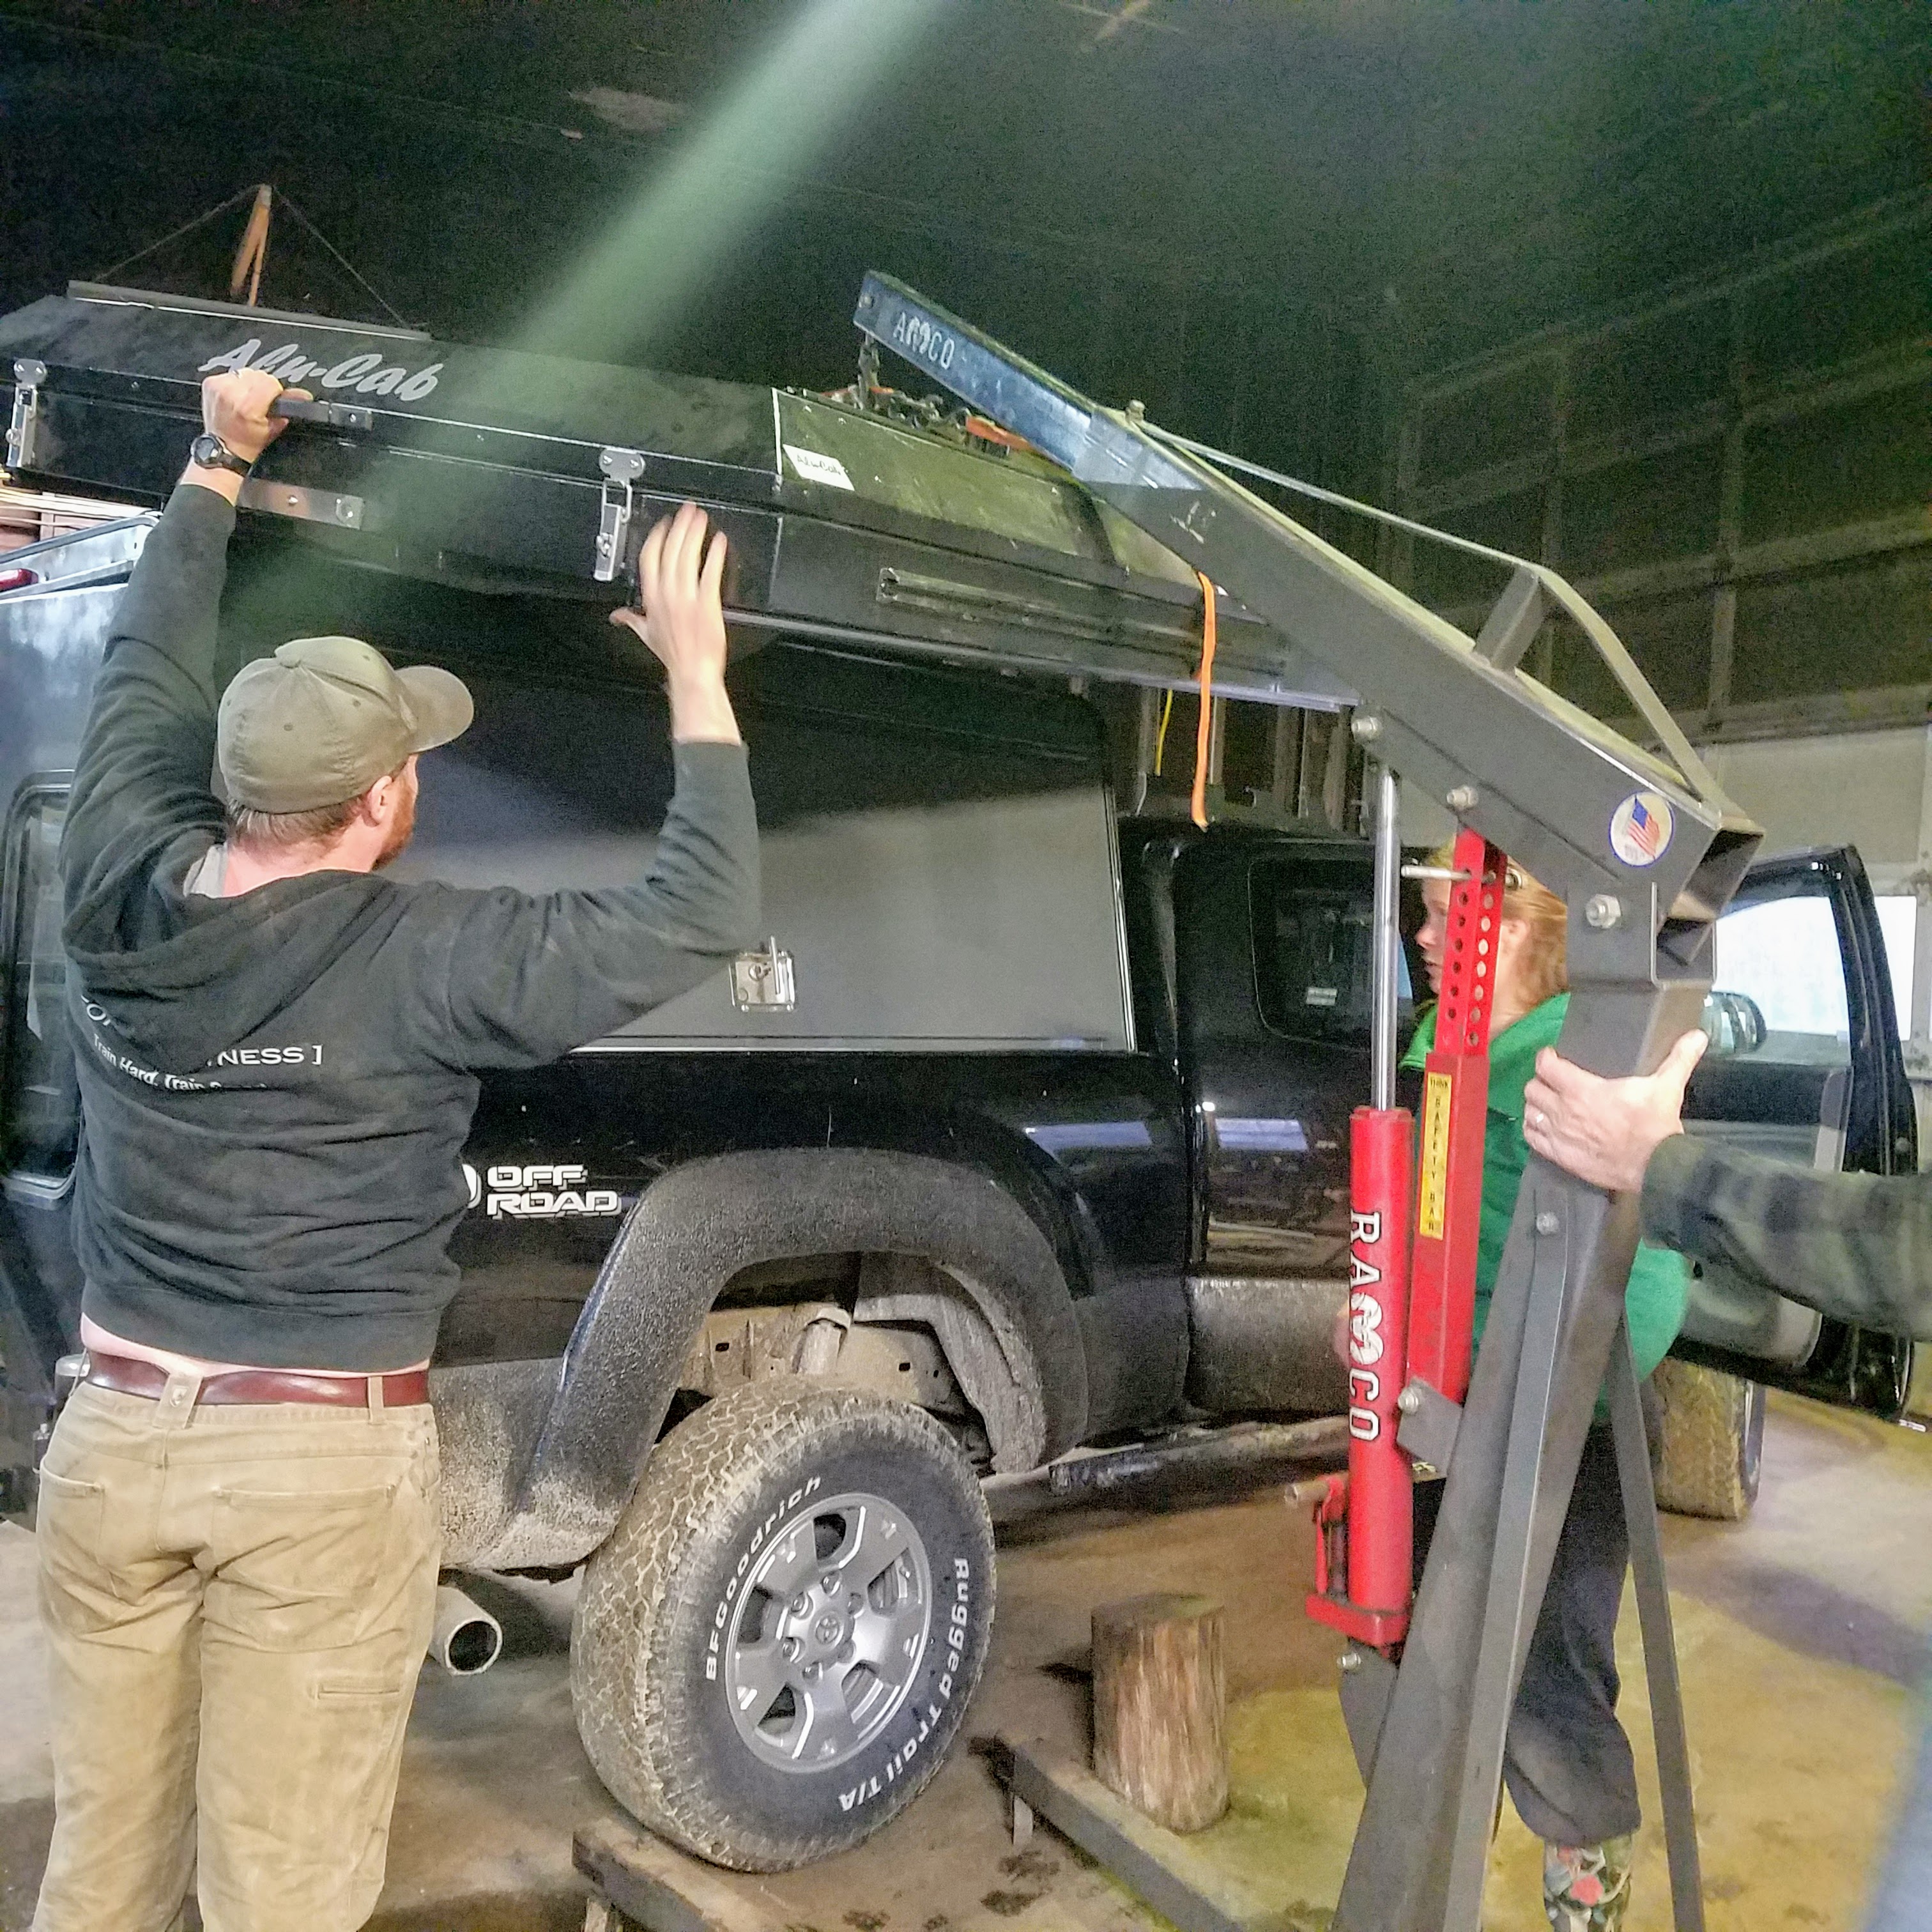
Tent-Capper assembly was an exercise in mental gymnastics to get everything bolted together in the proper order with limited resources. Fully assembled the tent and capper weighed in at approximately 500lbs, and with it being top heavy, the assembly would be too cumbersome for three or four people to the position in the truck with any accuracy. A crane would have simplified the process, but all we had access to was an engine lift.
To save 2,500 words and help give someone who might do this in the future a loose guide to the process, here are the steps we followed:
Step 1: Remove the plastic bed molding and sliding rail system.
Step 2: Bolt 2″ x2″ angle iron to the top of the truck bed
Step 3: Bolt 1″ x1″ square vertical braces inside of capper
Step 4: Pre-drill 1″ x3″ rectangular tubing to capper and tent
Step 5: Mount capper to the truck bed and bolt bottom to 2″ x2″ angle iron
Step 6: Attach 1″ x3″ rectangular tubing to capper with window weld and bolts that tie the structural supports to the truck frame
Step 7: Lift tent onto the roof using an engine lift and redneck ingenuity
Step 8: Bolt tent to 1×3 tubing using the same pre-drilled holes from Step 6
Step 9: Glue ½” foam insulation and ½” carpet pad to the tent floor
Step 10: Figure out how to cover the giant rectangle you cut into the floor of the tent


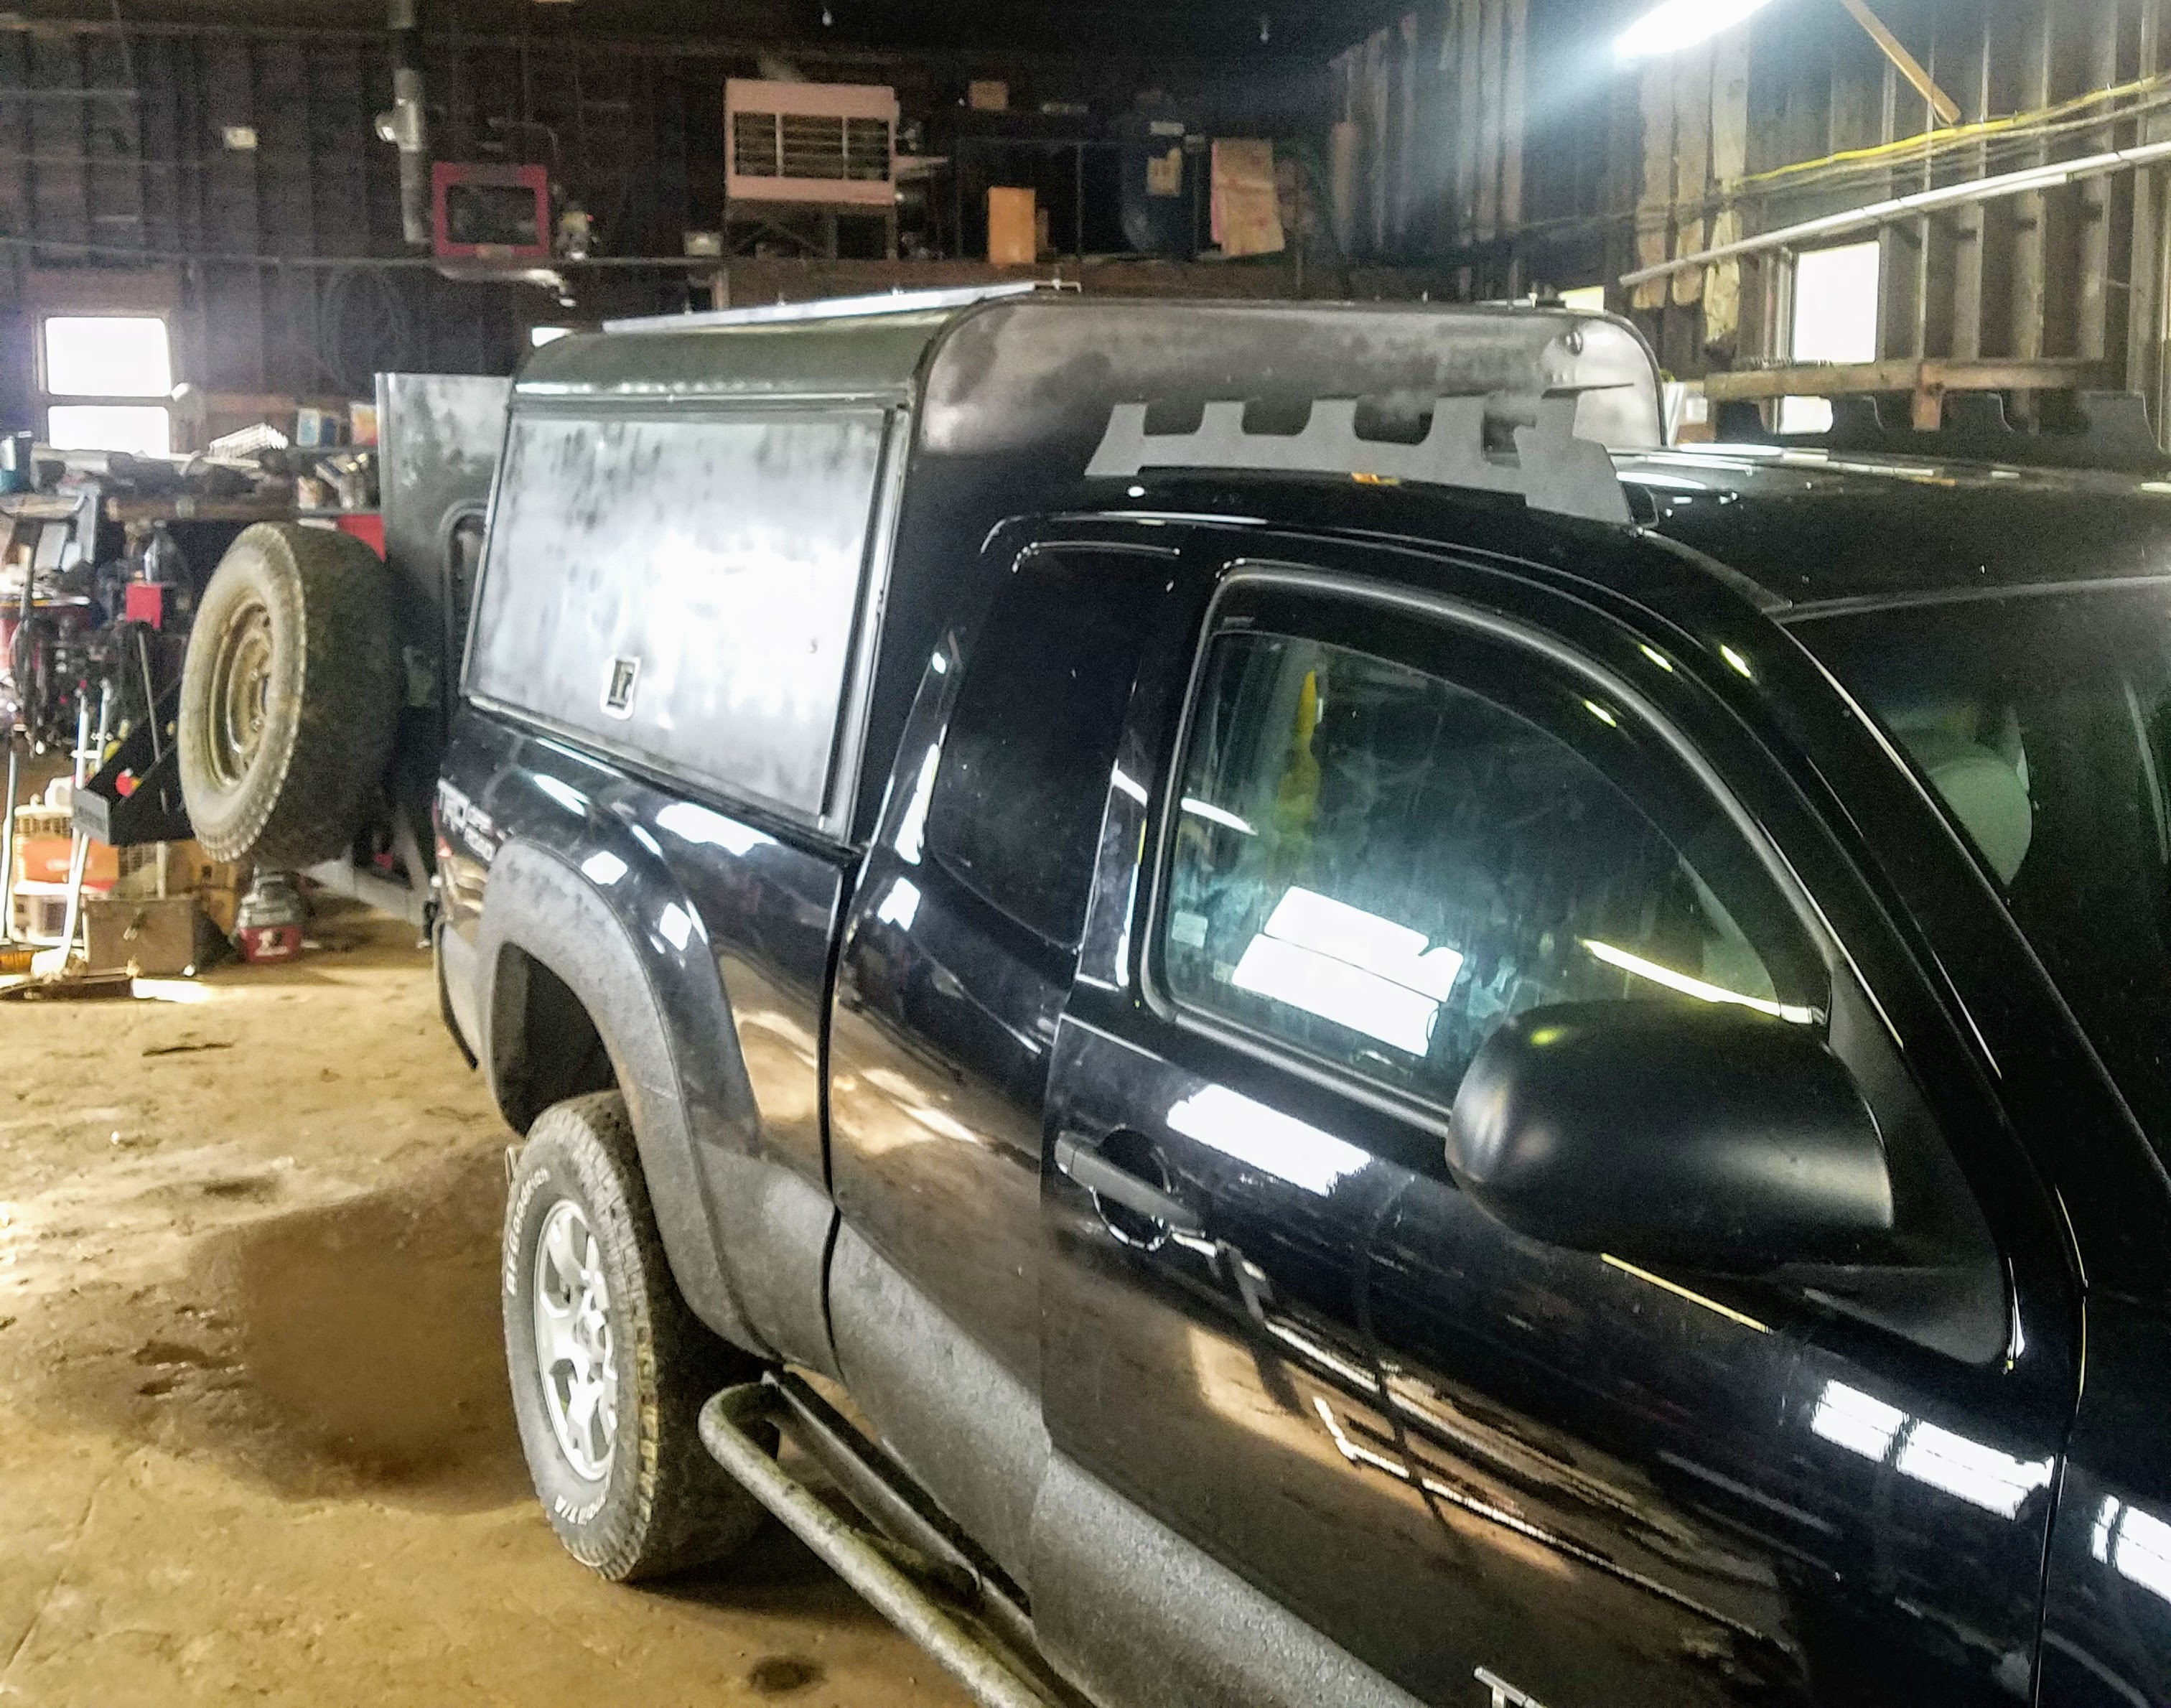

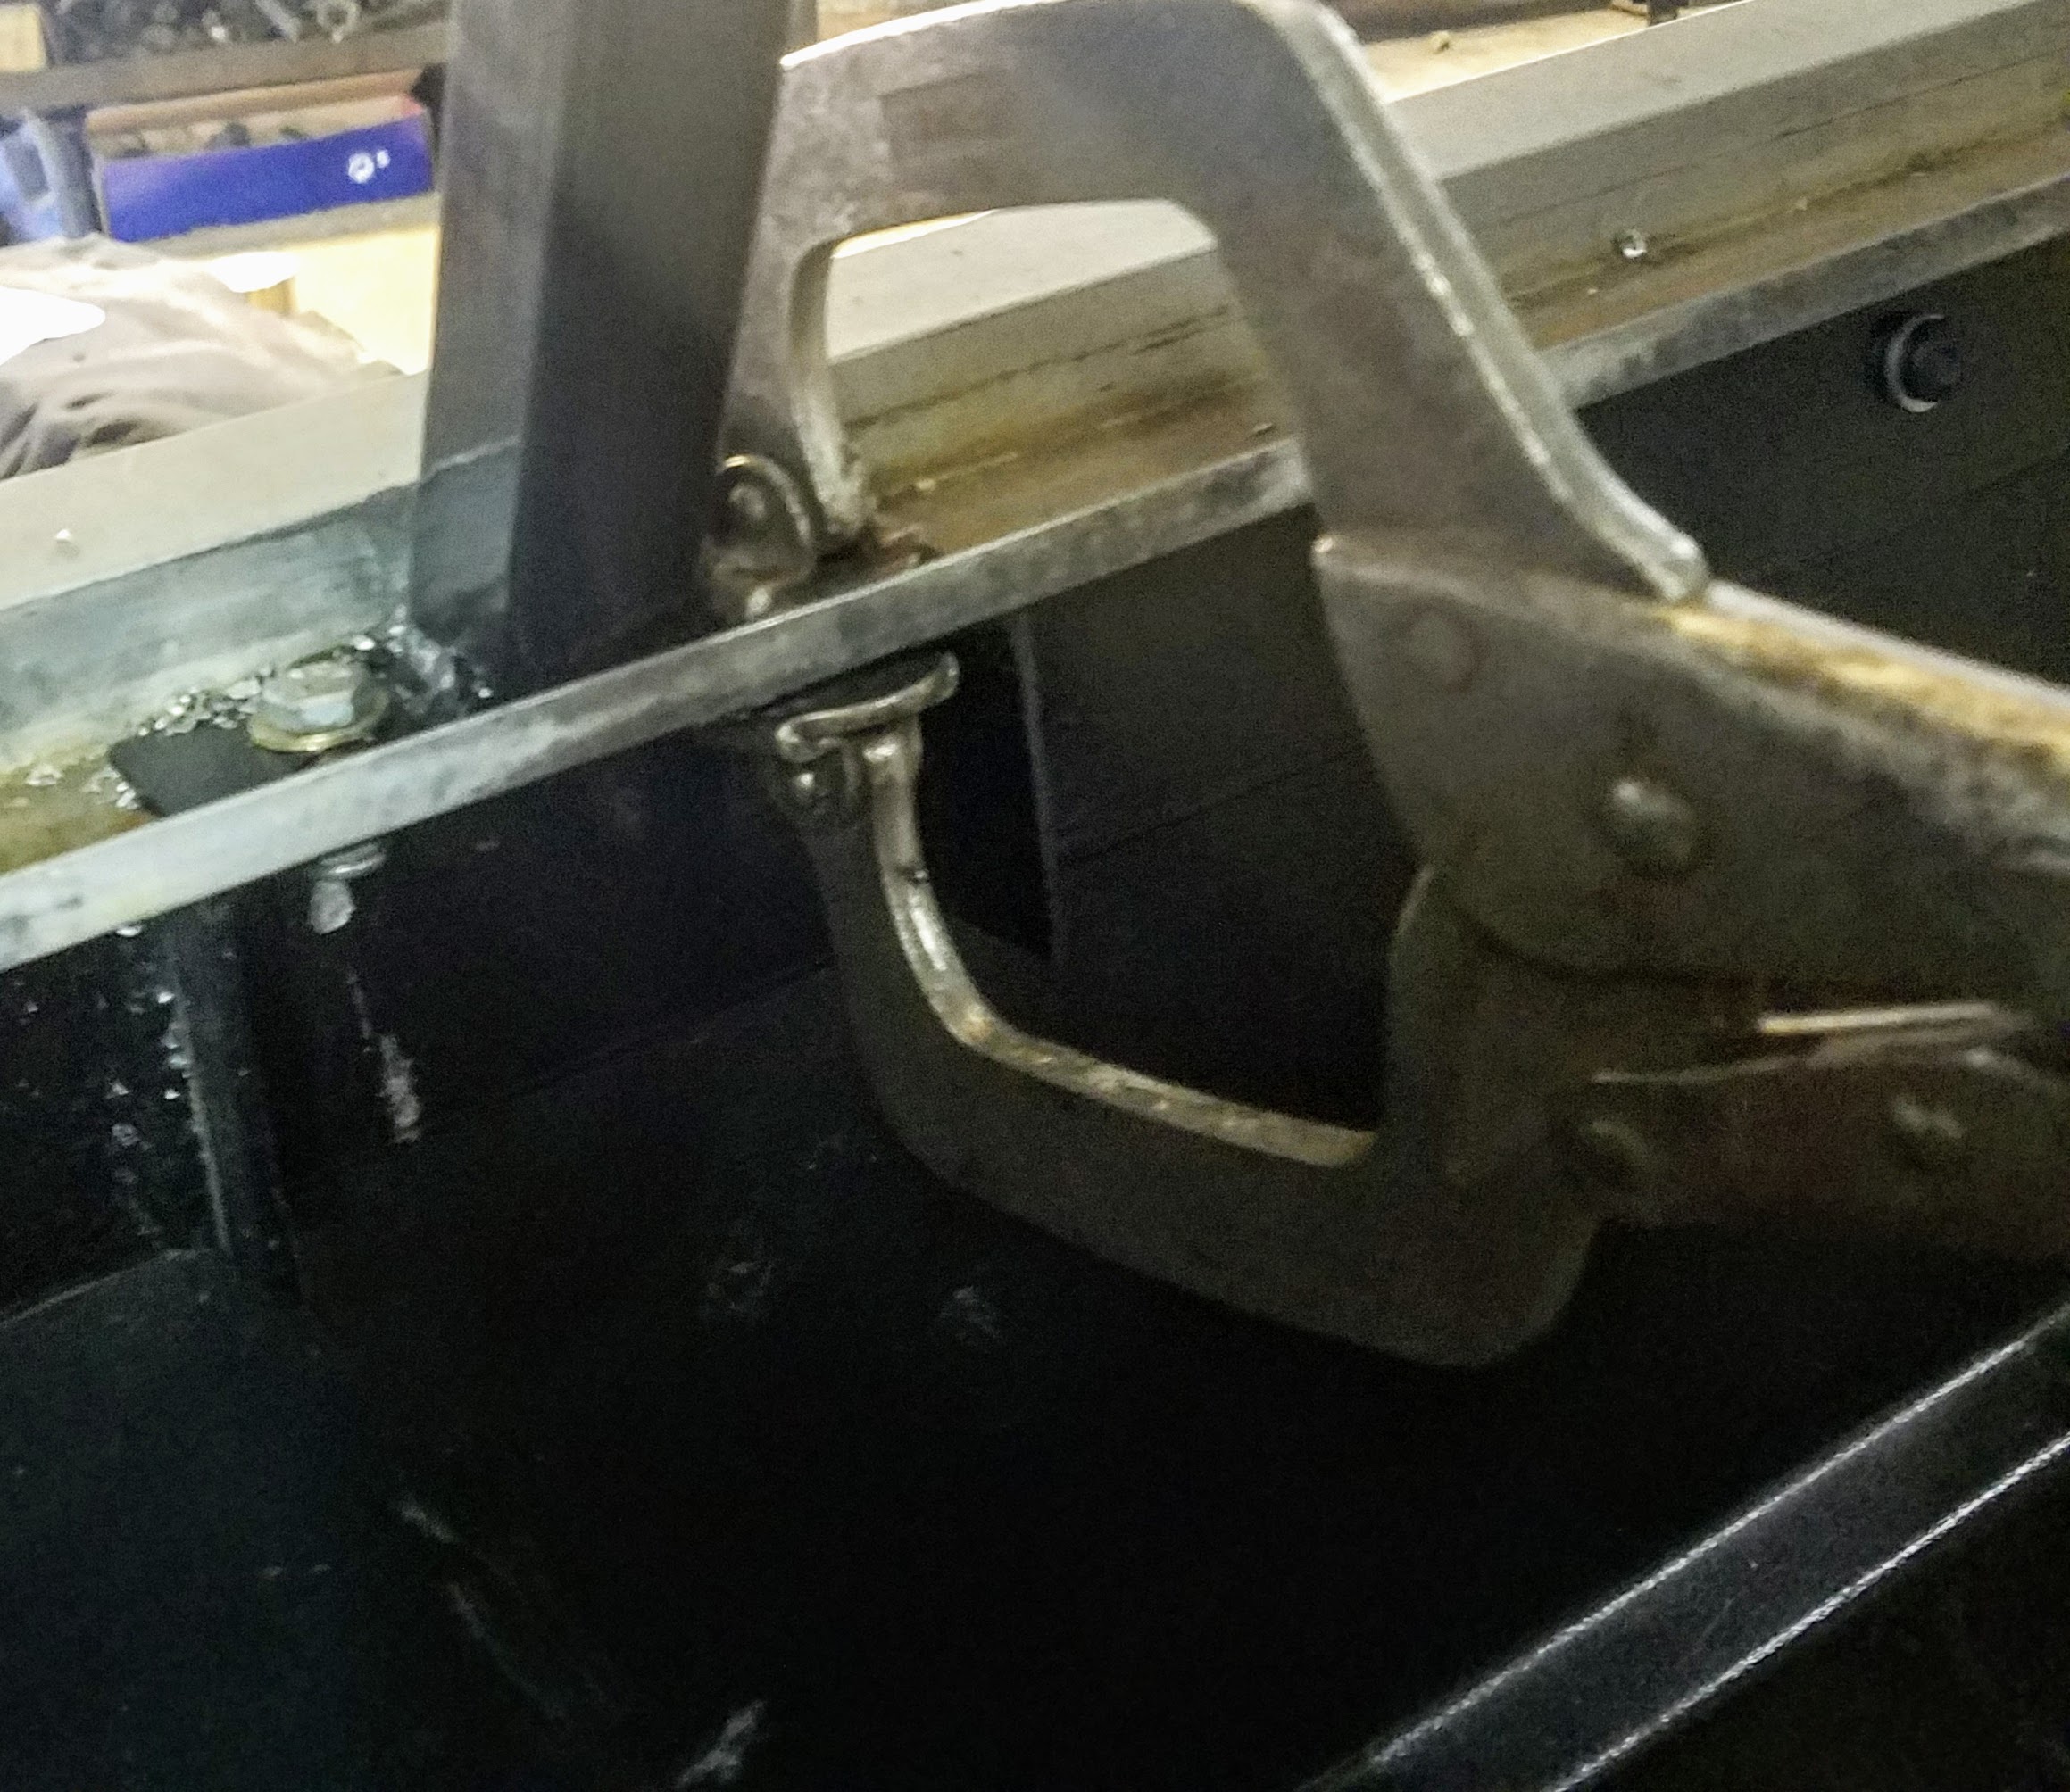


End Result: Working from the top down – the bottom of the tent is bolted and pop riveted to the 1″ x3″ steel tubing running lengthwise. The steel tubing is bolted to the heavy 1″ x1″ square tubing vertical structural supports in the capper. The capper and support posts are bolted to the truck bed and subsequently frame. We went with bolts because they don’t crack when the frame twists, but welds do!

Testing and Modifications:
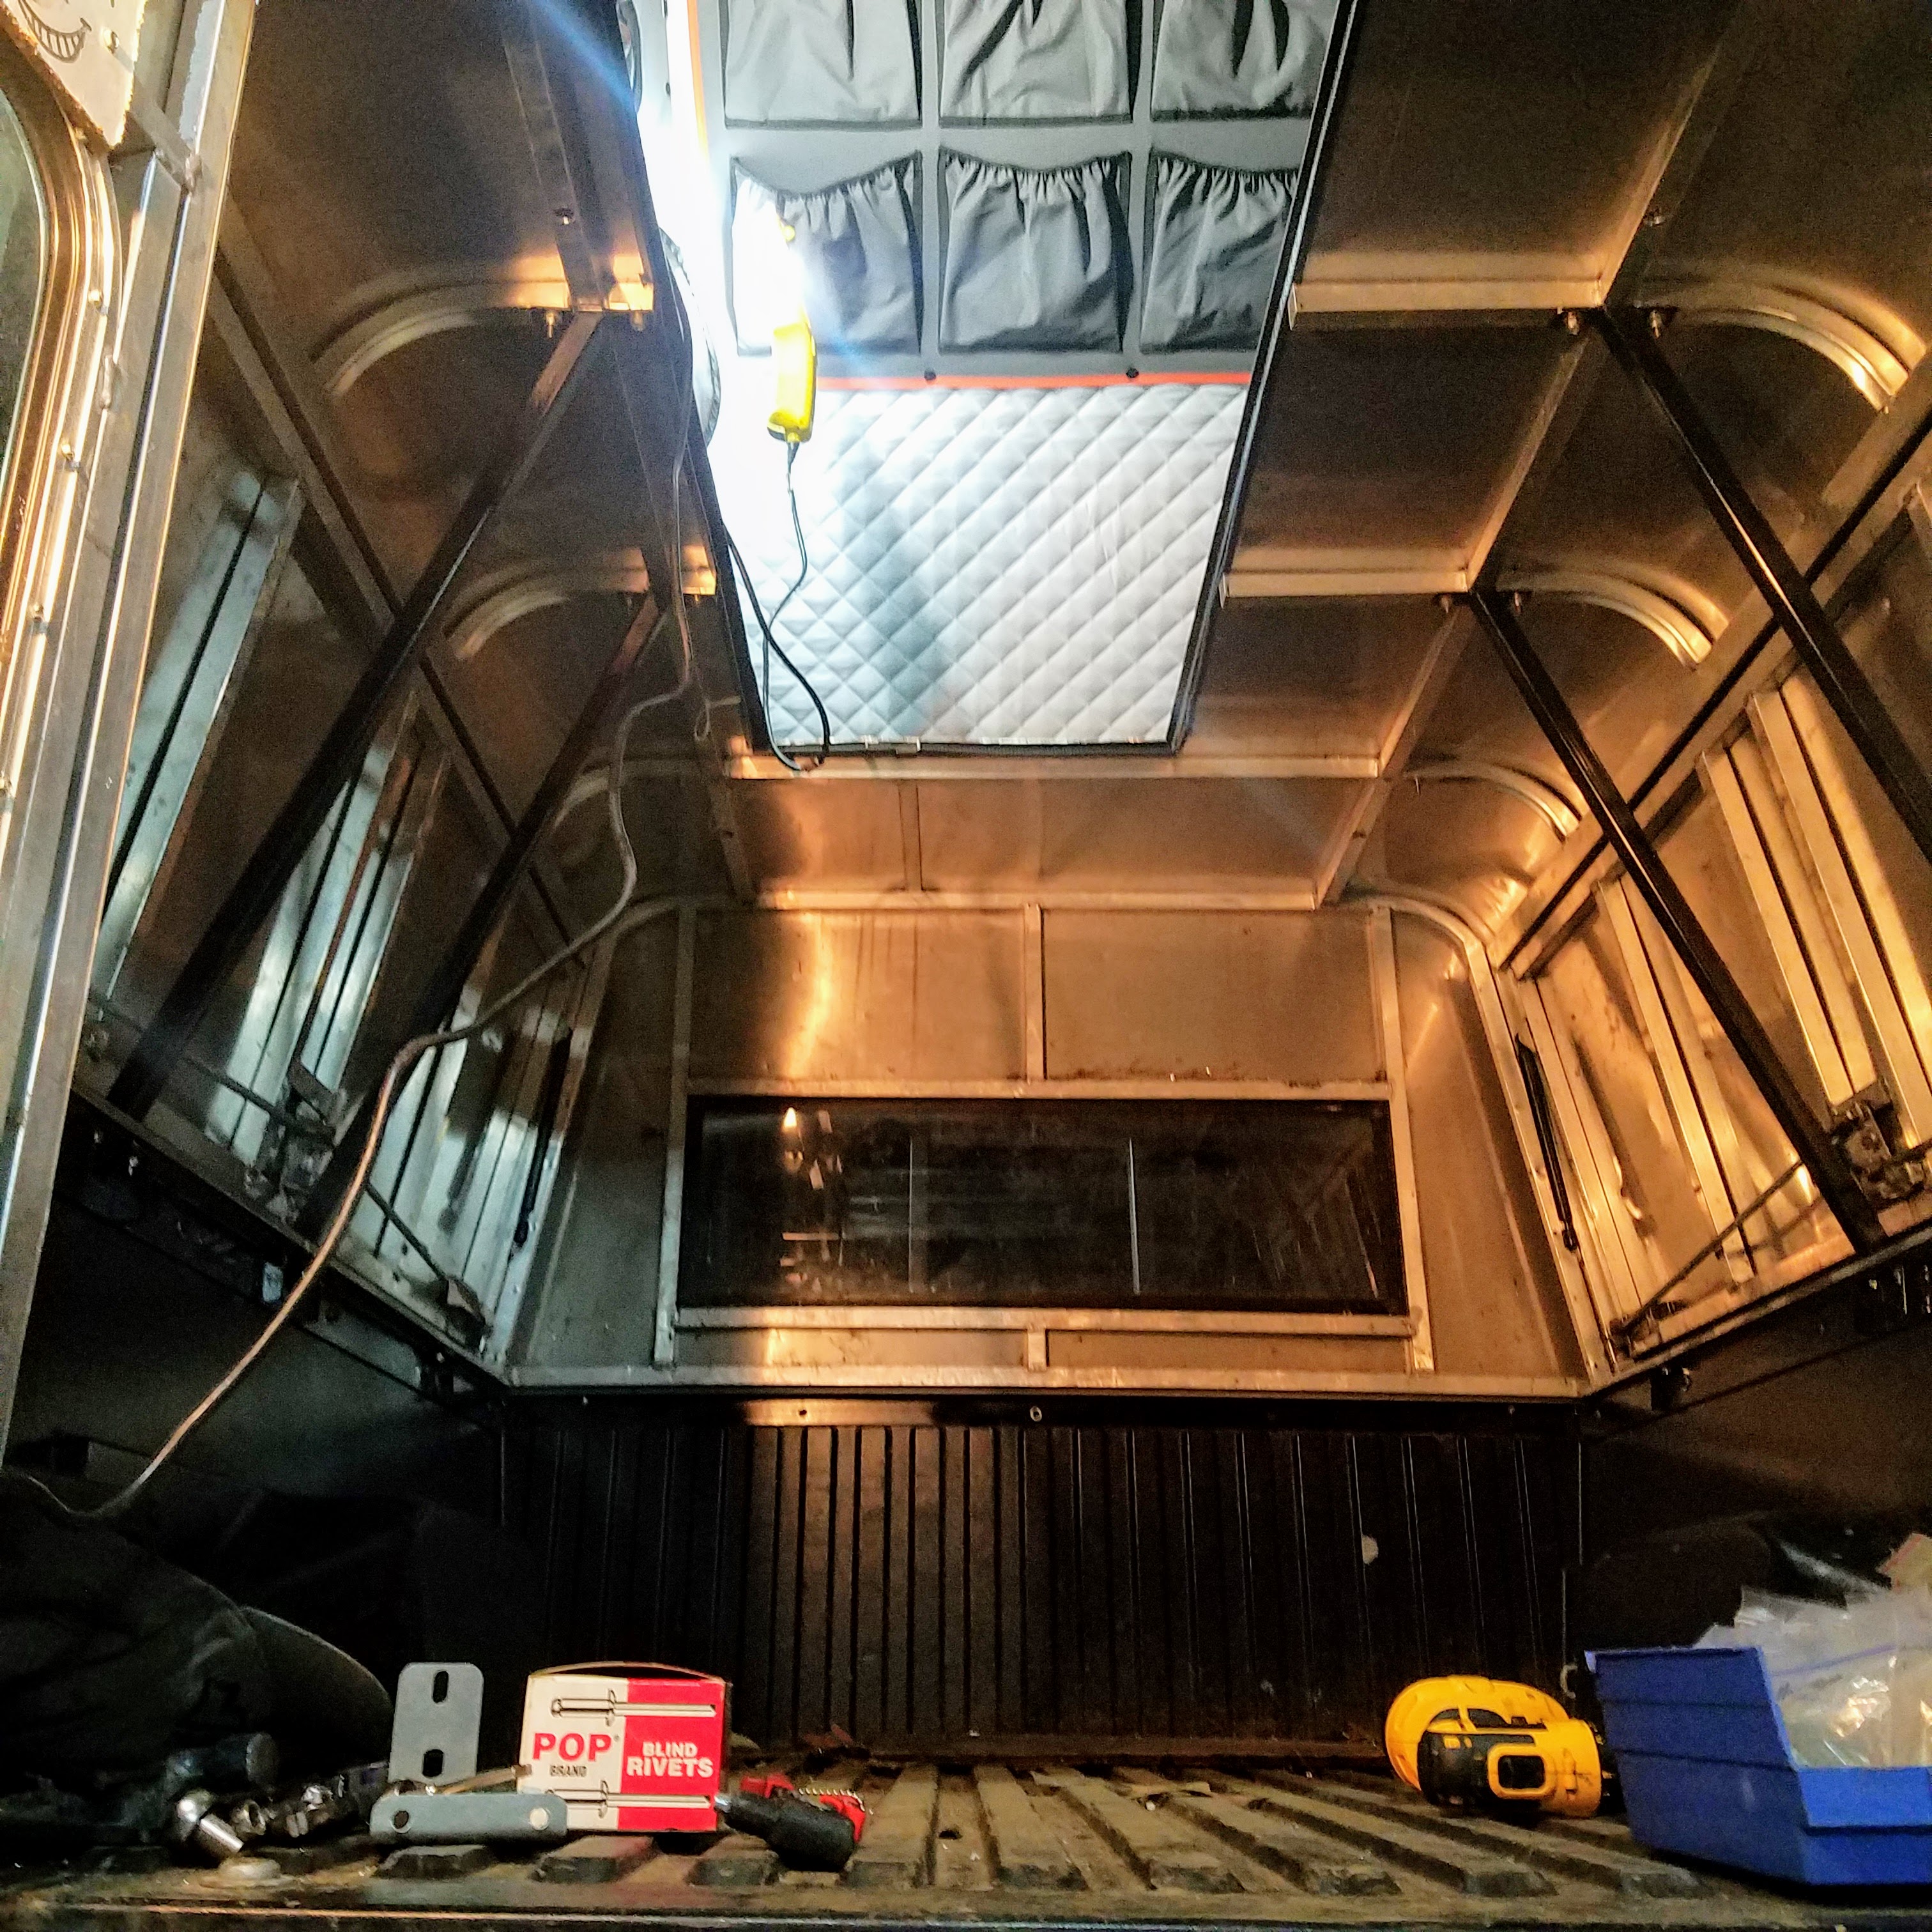
Before we could test the tent design, we had to build an easily removable cover for the hatch. I took the piece that we originally cut out of the tent and mounted angle iron to the sides to make a “tongue” that braced down to the frame when closed. The hinges went on the back (tailgate) edge so that it would open up until it’s flush with the back wall of the tent. Lindsay cut the mattress into an “L” and sewed the mattress cover so that the hatch could lift open without interfering with the larger portion of the mattress. We mounted a cheap dog-run pulley to the back wall of the tent and ran a line of paracord from the leading (cab side) edge of the hatch cover, up through the pulley, and down to a mini-boat cleat that we pop riveted to the tent frame. We basically built a drawbridge in our tent using scrap steel, three hinges, and a dog run.
Testing was terrifying – as in, I slowly rolled over onto the hatch and waited for it to collapse and dump me three feet down to the truck bed. Luckily, it ended up being able to hold both of us with only a little bit of deflection. The light piano hinges are pretty maxed out with both of us on the hatch at the same time, so I try to sleep with at least half of my body on the original part of the tent. Lindsay’s considerably lighter than me, so she gets the hatch!
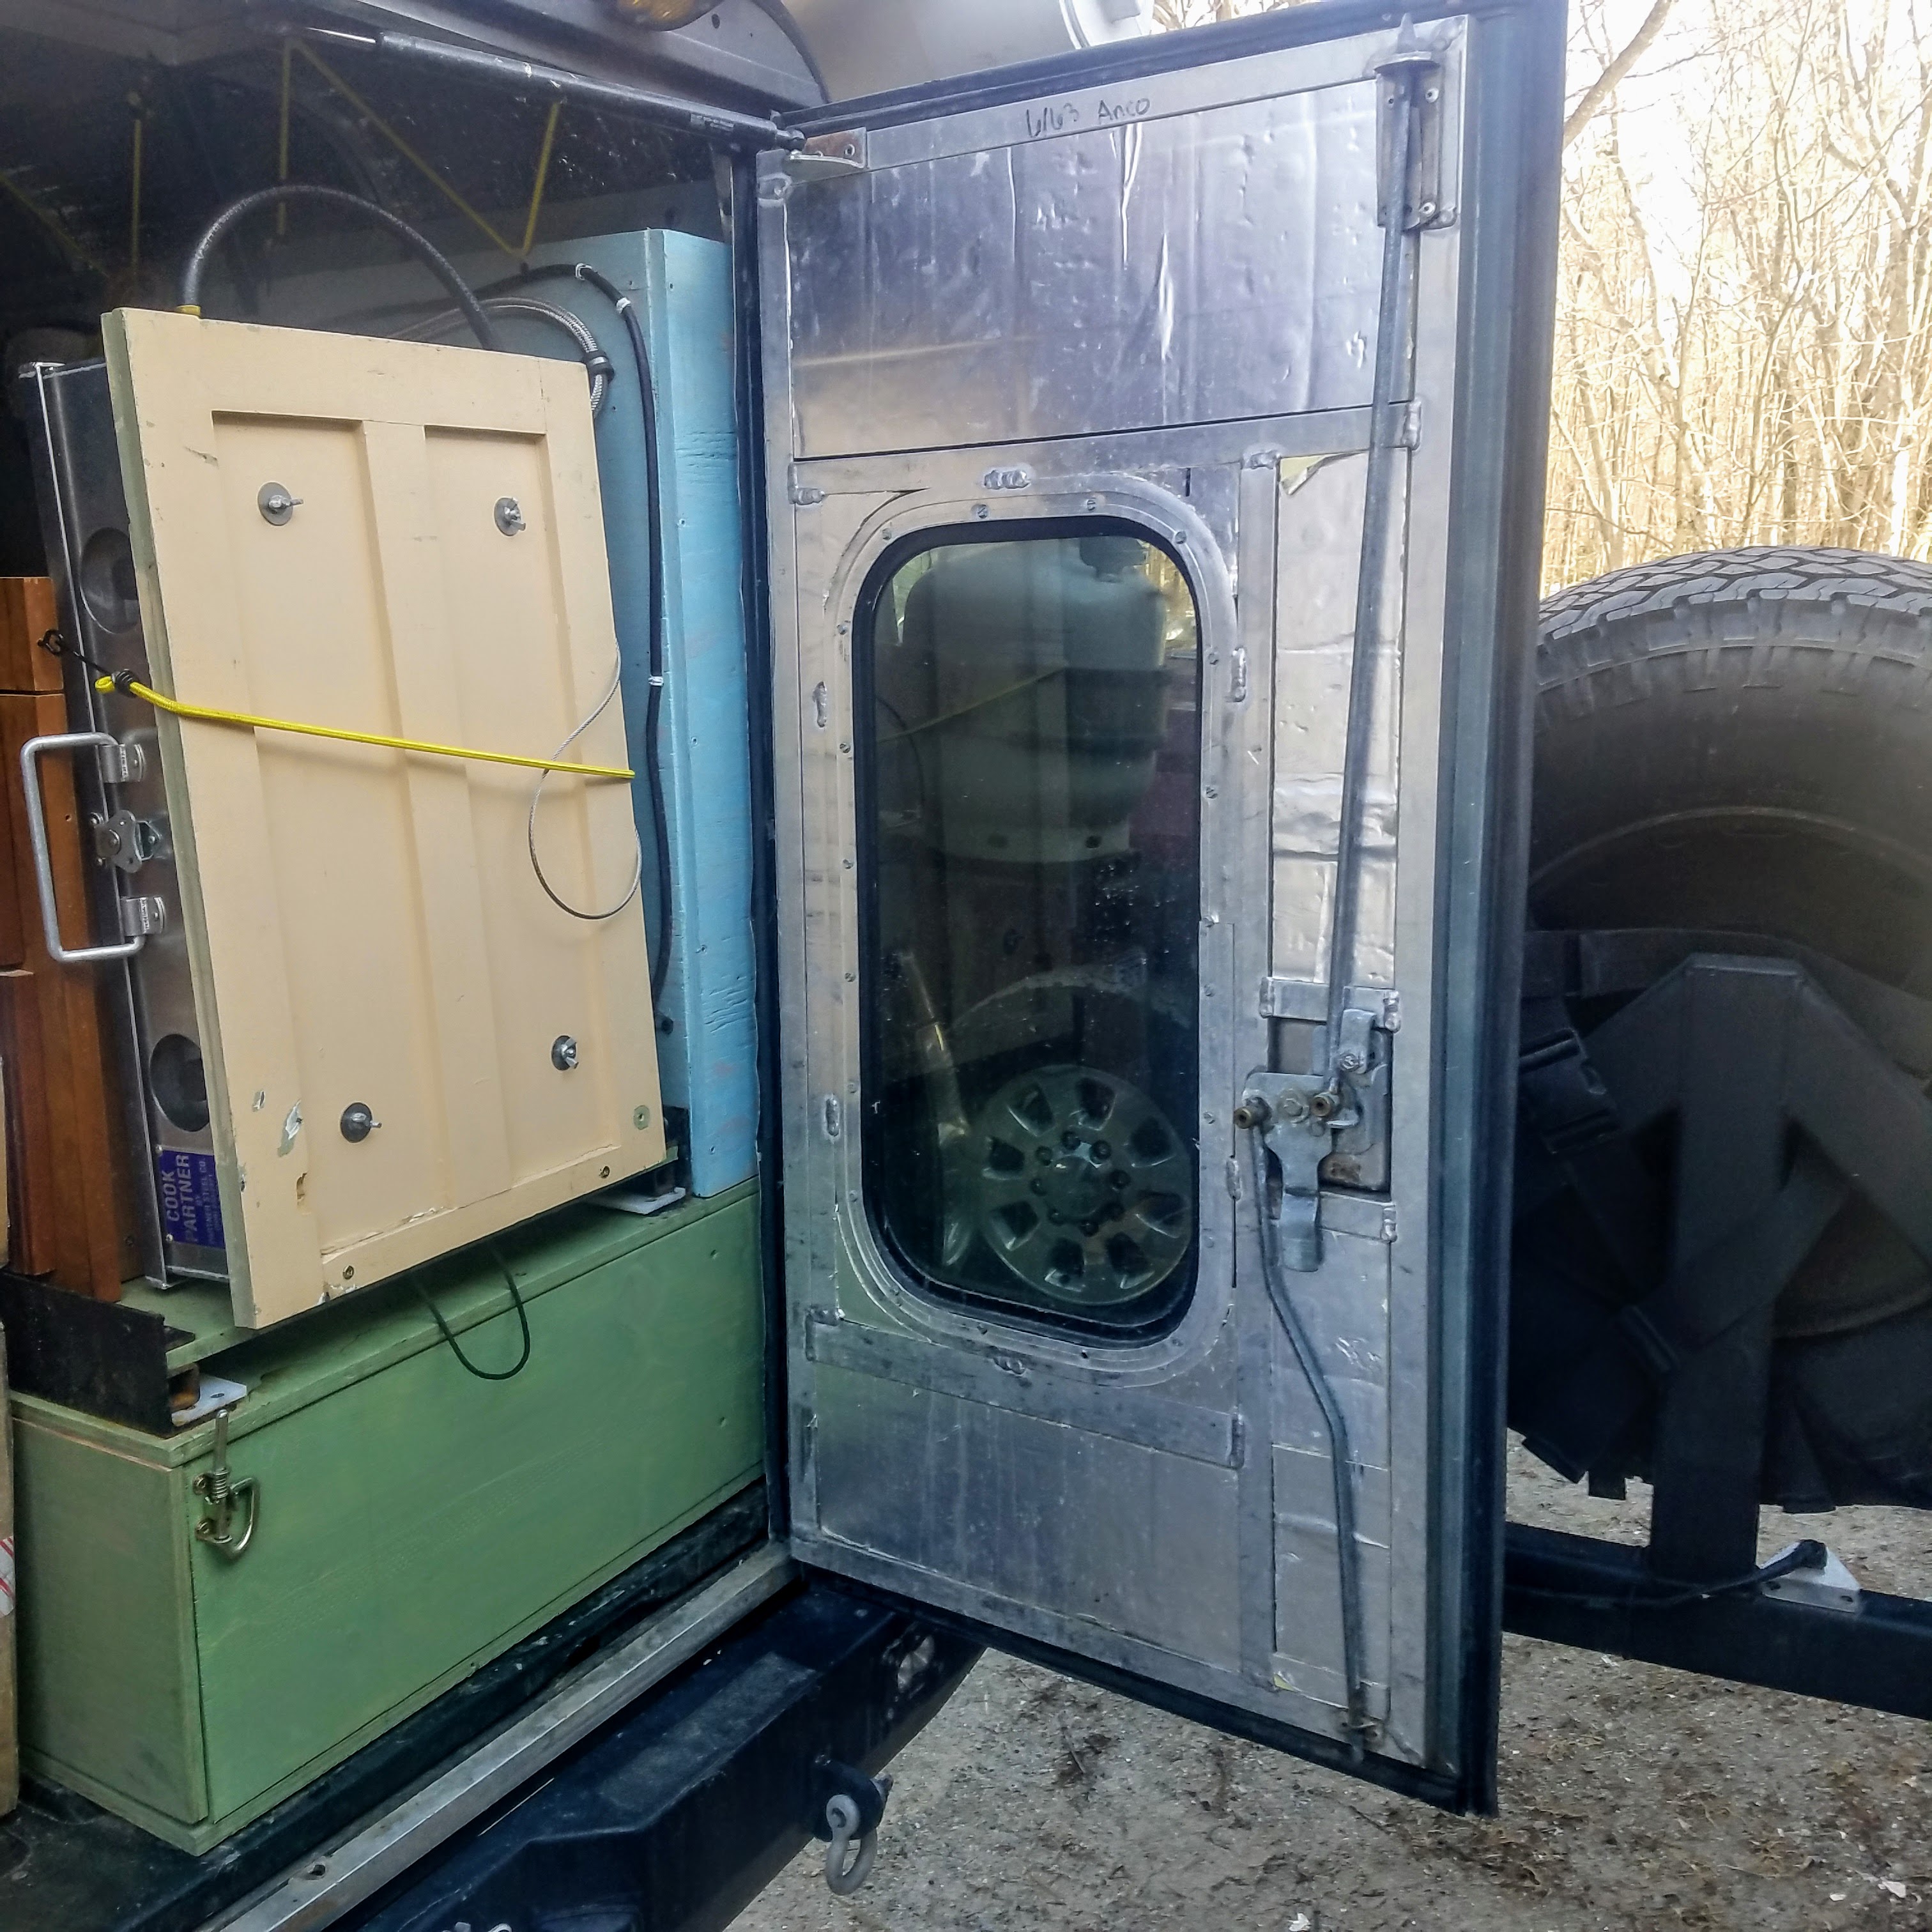
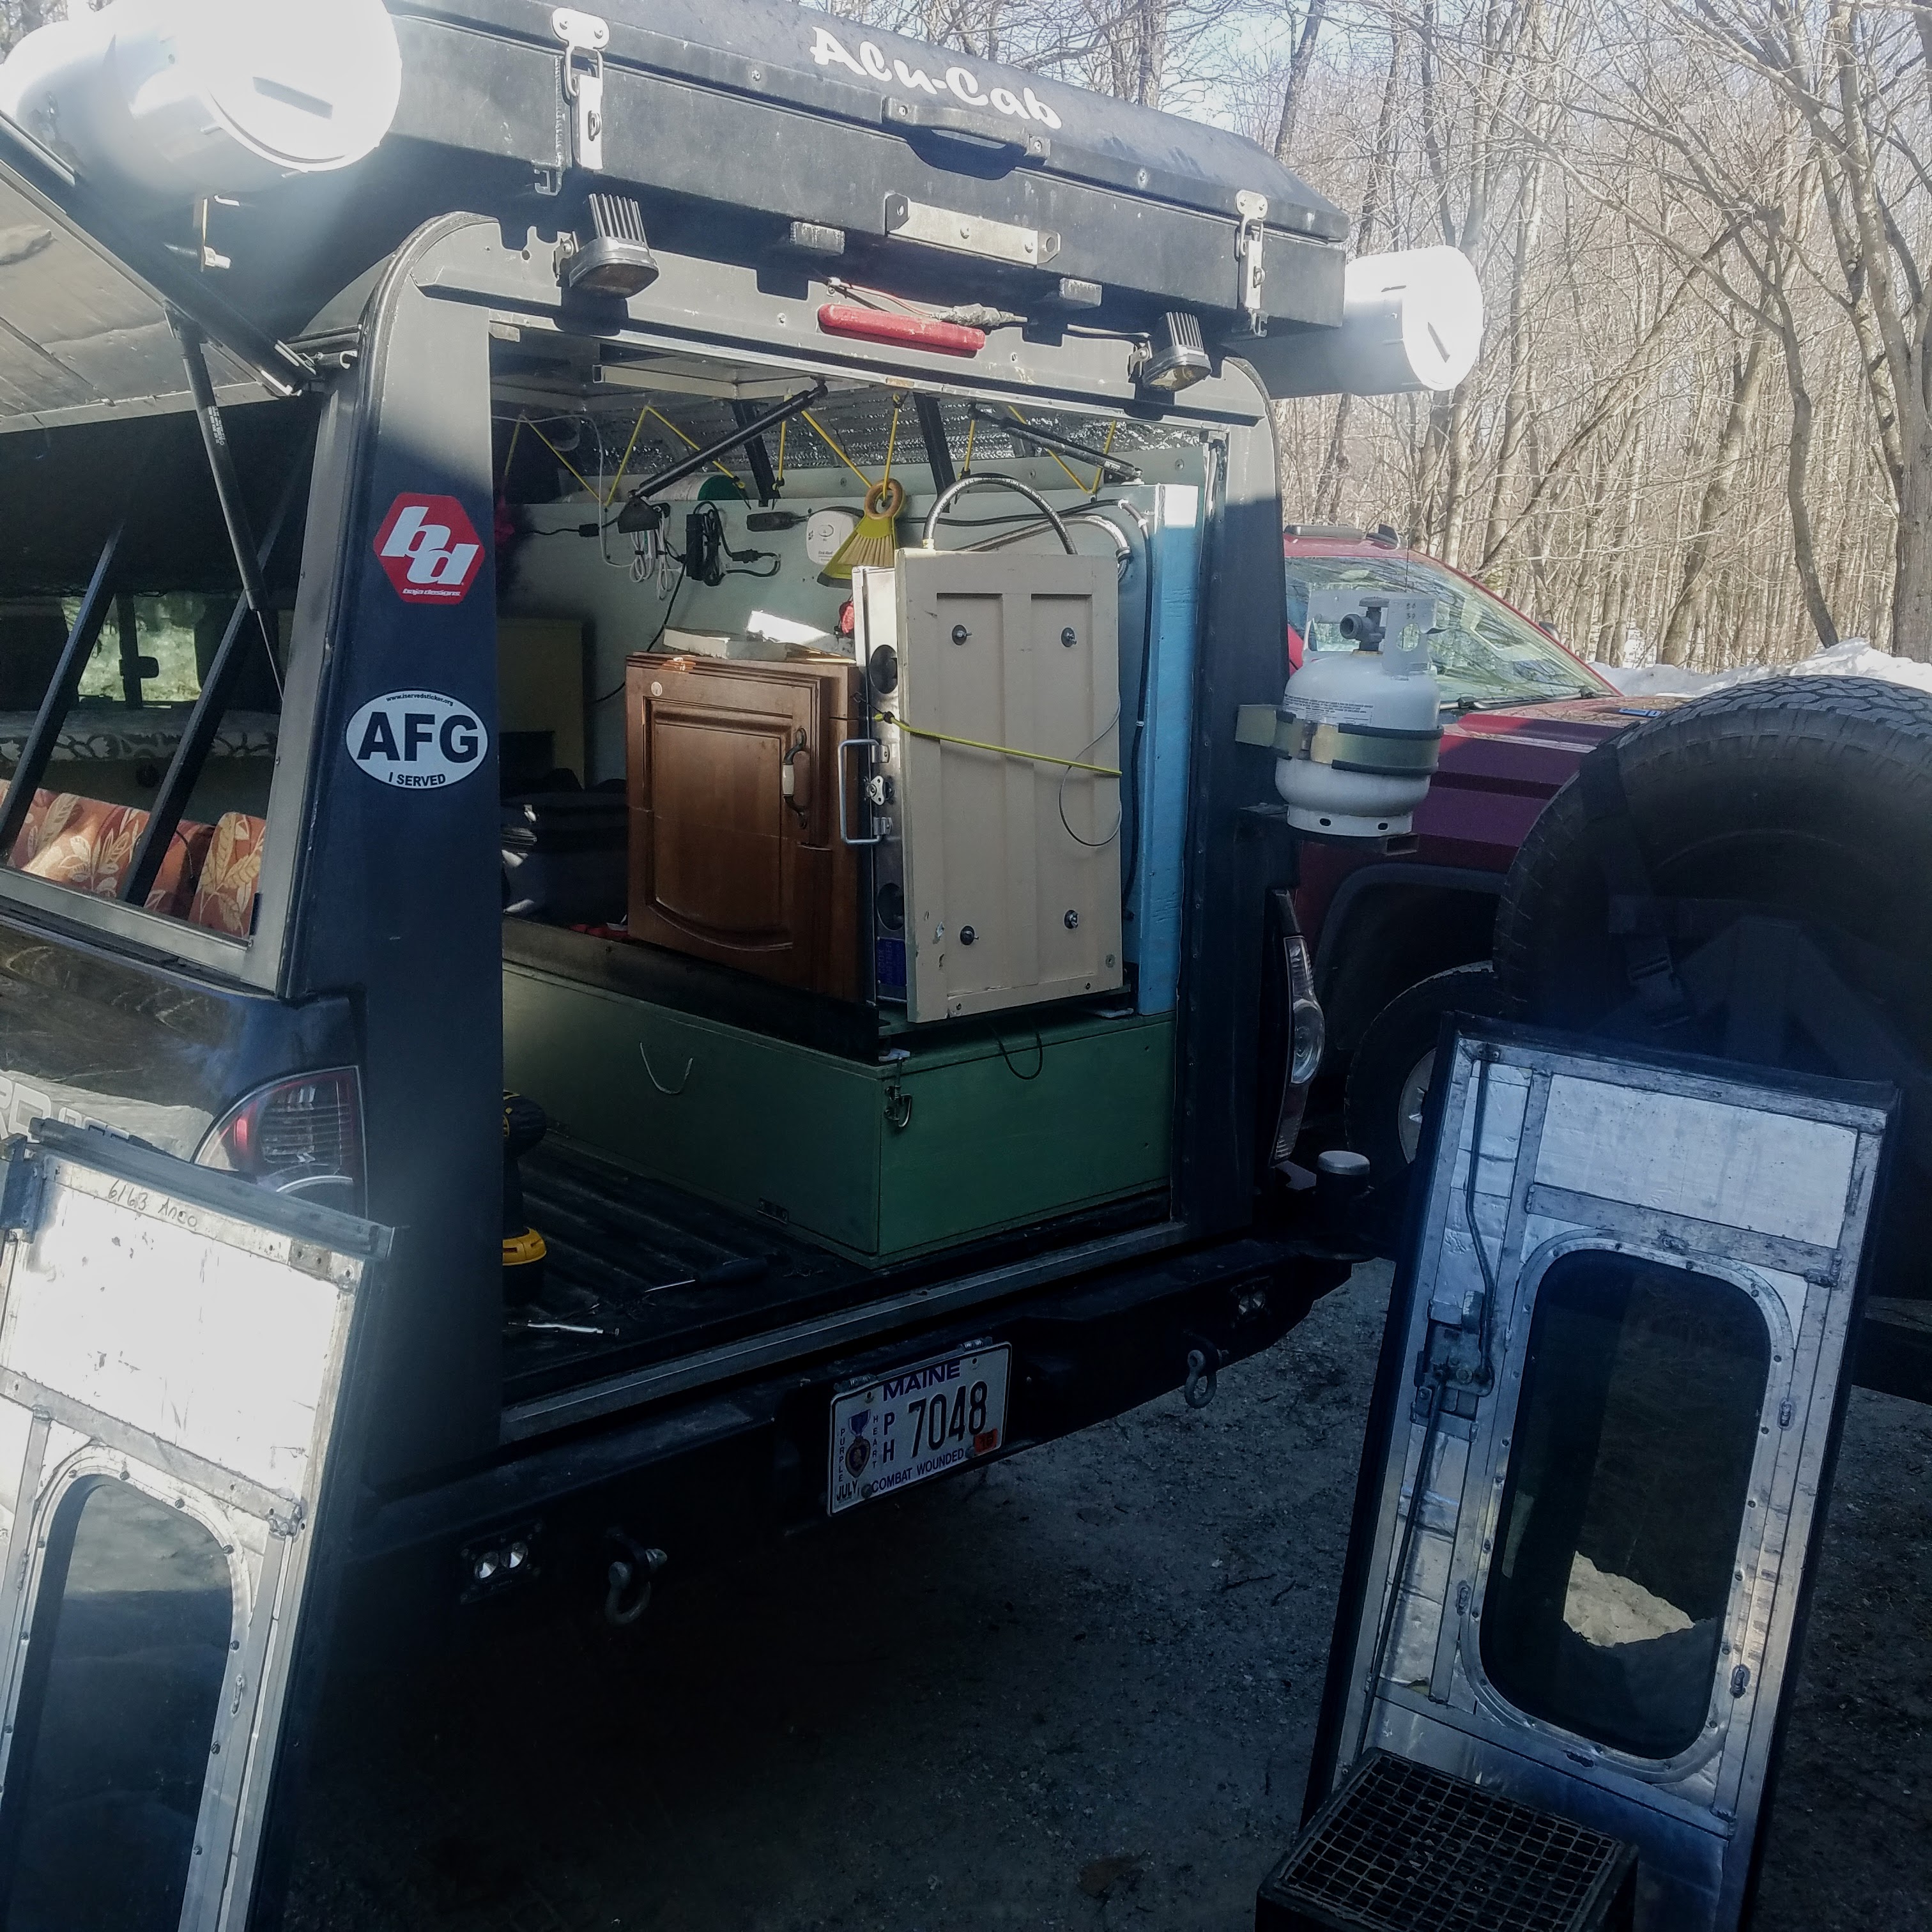
The most significant modification we made after using the capper/tent for eight weeks was to flip the doors around. The first time we tried to close the back doors with both of us inside the “house” was our first night on the road. That’s when we learned that, because of the kitchen blocking the latch mechanism; it was almost impossible to shut the doors from the inside. Fortunately, the rear doors were mounted on simple piano hinges with self-tapping screws. It’s a little homeless, but we took an afternoon and popped the doors off, rotated 180 degrees, and slapped them back on. 3 months later, it still works like a charm!
Thoughts Looking Back:
For a “prototype”, we’re stoked with the end result for this part of the build. There are really only two things we would have done differently in retrospect – 1. Put a wider lengthwise gap in the support posts, so climbing into the back of the truck is more comfortable and 2. Build a stronger hatch cover using a new piece of aluminum instead of trying to use the recycled piece we cut out.
At the end of the day, we built something pretty unique and accomplished it with a third of the budget of a Tacoma Habitat. I’ll call it a win.
